Key Takeaways
- 1Select the Sales Objective to target actual buyers rather than window shoppers
- 2Enable Advantage+ Campaign Budget (CBO) to let the algorithm optimize spend
- 3Use Broad Targeting (no interests) and let your ad creative filter the audience
- 4Schedule campaign launches for midnight to ensure even 24-hour budget pacing
- 5Implement consistent naming conventions to easily filter and analyze data later
Facebook Ads Manager changes constantly. This 2026 guide walks you through every click—from selecting Sales objectives to leveraging Broad targeting—ensuring you avoid hidden settings that kill performance. Get your campaigns profitable today.
Facebook Ads Manager changes its interface more often than some people change their socks.
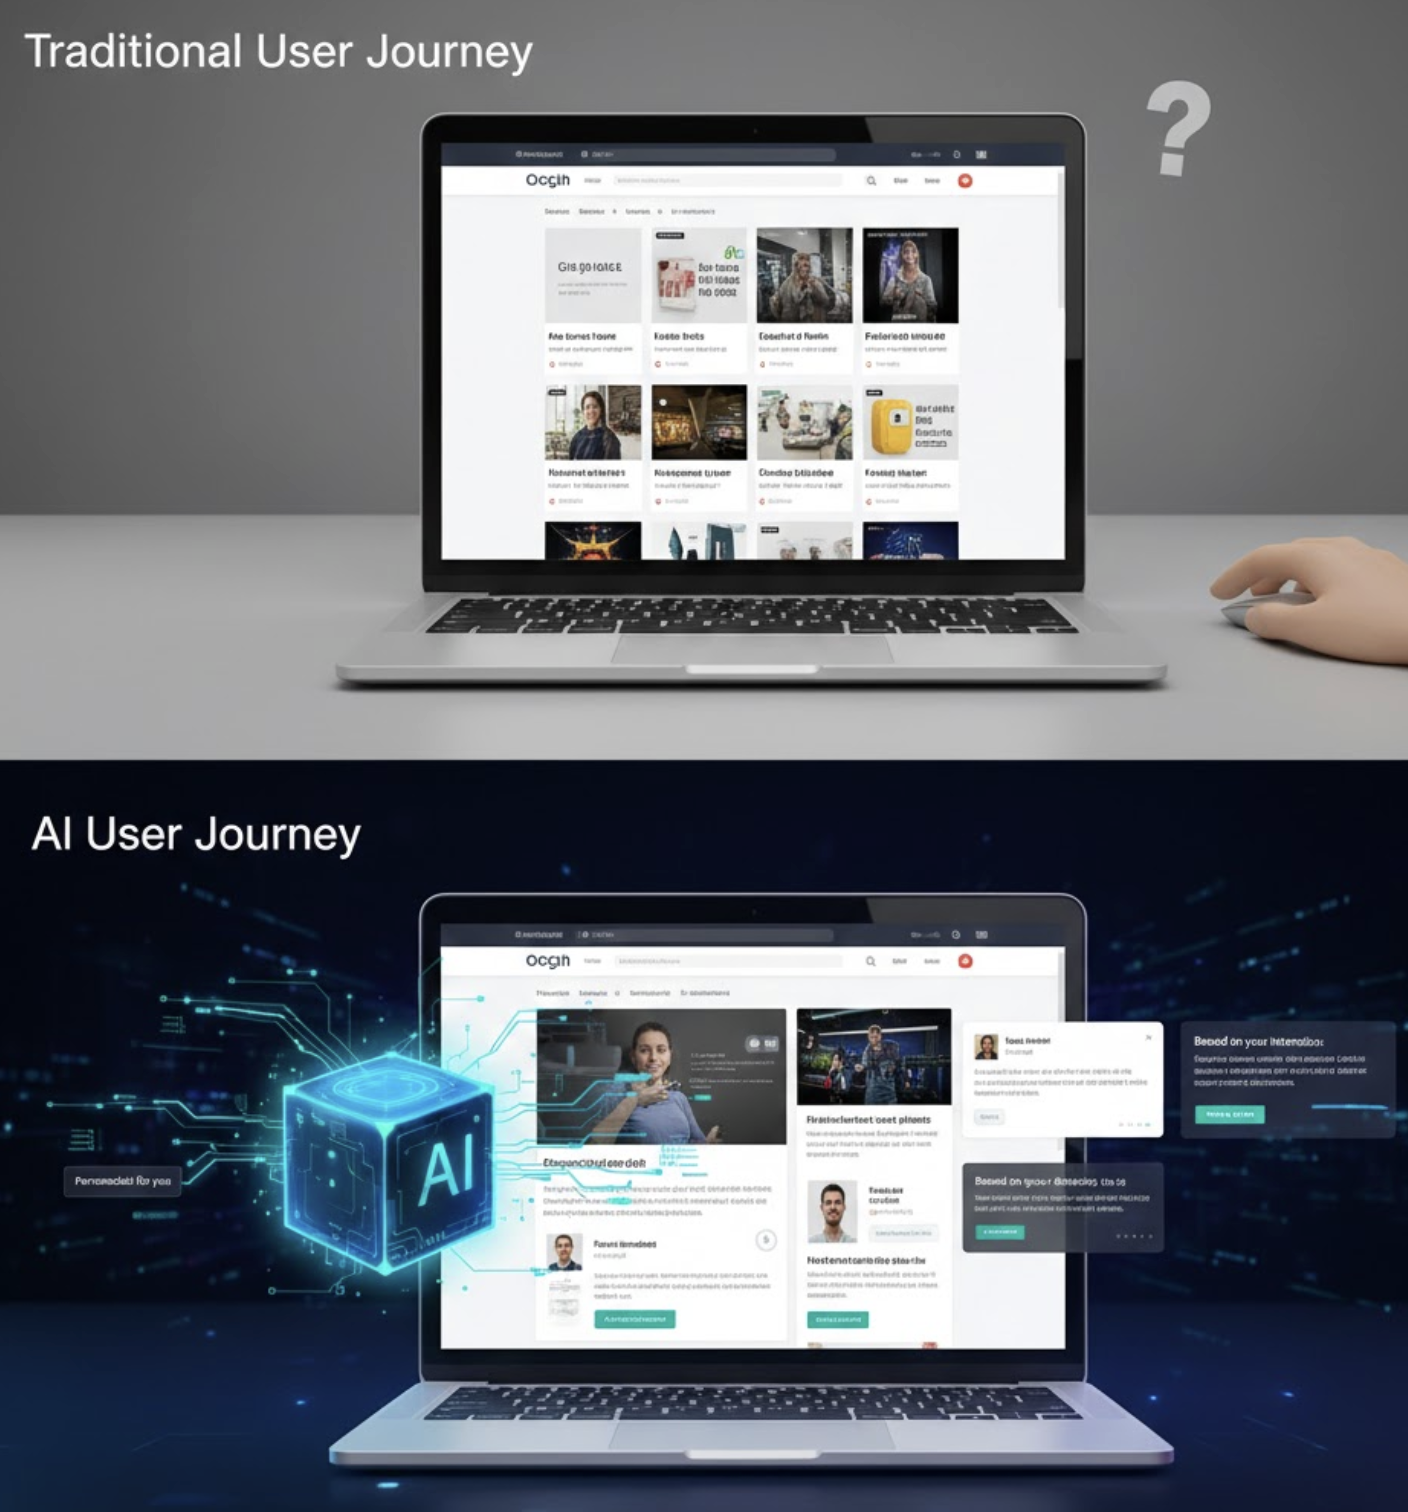
If you watched a tutorial from 2024, it is likely outdated. Buttons have moved. Names have changed (RIP "Conversion Objective," hello "Sales Objective").
In this guide, we are going to walk you through a complete facebook ads manager campaign setup using the latest 2026 interface.
We will cover every click, from the first "Create" button to the final "Publish," ensuring you don't miss any hidden settings that could kill your performance.
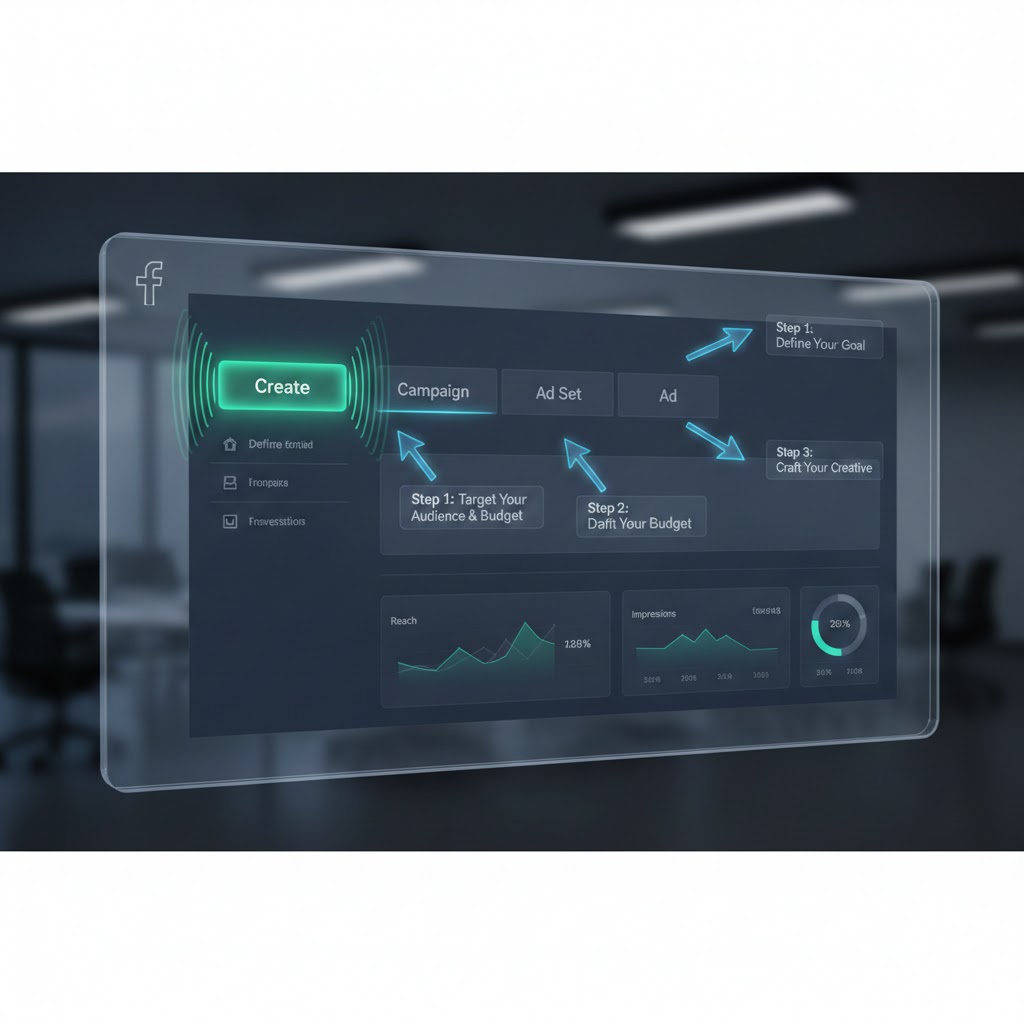
The Interface Overview: The "Russian Doll" Structure
Before we click anything, remember the structure:
Campaign: The Goal (Sales).
Ad Set: The Who/Where (Targeting).
Ad: The Creative (Video/Image).
You can have multiple Ad Sets in a Campaign, and multiple Ads in an Ad Set. Understanding how to structure your Facebook ad account is the foundation of success.
Step 1: Campaign Settings
Click the big green + Create button.
1. Choose Campaign Objective:
Select Sales (for e-commerce) or Leads (for services). Do not look at the other options. "Traffic" sends you bots. "Awareness" sends you ghosts. "Engagement" sends you people who like posts but don't buy. If you want money, tell the algorithm to find money.
2. Campaign Name:
Don't be the person named "Campaign 1 Copy Copy." Use a standard naming convention so you can filter your data later.
Structure: [Budget Type] - [Funnel Stage] - [Goal] - [Date]
Example: [CBO] - [TOF] - [Creative Testing] - [Jan 2026]
3. Special Ad Categories:
Leave this OFF unless you are selling Credit, Employment, Housing, or Politics (Social Issues). Facebook is extremely strict here due to anti-discrimination laws. If you sell credit cards and don't tick this box, your account will be disabled.
4. Campaign Details:
Buying Type: Auction. (Reach and Frequency is for big brands buying TV-style slots).
5. Advantage+ Campaign Budget (CBO):
Turn this ON. In the past, we used ABO (Ad Set Budget Optimization) to force spend into specific audiences. In 2026, the algorithm is smarter than you. The debate of ABO vs. CBO is largely settled for scaling; CBO allows Facebook to look at all your Ad Sets, see which one has the cheapest user available right now, and spend the money there. It lowers your overall CPA.
6. Budget:
Set your Daily Budget. We recommend starting with at least $50/day. Why? You need 50 conversions a week to exit the "Learning Phase." If your product costs $50 and your target CPA is $20, you need to spend enough to get those sales. $5/day won't cut it.
Step 2: Ad Set Settings
Click "Next" to move to the ad set facebook level.
1. Conversion Location:
Select "Website."
2. Performance Goal:
Select "Maximize number of conversions."
3. Pixel & Event:
Select your Pixel. For the Conversion Event, select Purchase (or Lead). A common myth is that you should "warm up" the pixel by optimizing for "Add to Cart" first. This is wrong. If you tell Facebook to find "Add to Carts," it will find window shoppers who abandon carts. If you want buyers, ask for buyers immediately.
4. Dynamic Creative:
Turn this OFF if you want to control your ads manually (e.g., specific Post IDs). Turn it ON if you are doing a "3-2-2" Dynamic Creative framework test (recommended for finding new winners). DCT takes your images and headlines and mixes them to find the best combo.
5. Budget & Schedule:
Start date: Today. End date: Optional. Pro Tip: Schedule your new campaigns to launch at midnight (00:00) the next day. This gives the algorithm a full 24 hours to pace the budget evenly. If you launch at 10 PM, it might try to spend your whole daily budget in 2 hours, resulting in terrible performance.
6. Audience Controls (Targeting):
This is where 2026 differs from 2020.
Location: Select your country (e.g., United States).
Age: Leave broad (18-65+) unless your product is age-restricted (alcohol, gambling). The algorithm will naturally stop showing ads to 18-year-olds if only 45-year-olds are buying.
Gender: Leave "All" unless it's strictly gender-specific.
Detailed Targeting: Leave this EMPTY. This is called "Broad Targeting." We do not guess interests anymore. We let the ad creative filter the audience. If your ad shows a dog, dog owners will stop scrolling. The algorithm notices this and finds more dog owners. Trust the machine.
7. Placements:
Select "Advantage+ Placements" (Recommended). This lets ads appear on Facebook, Instagram, Audience Network, and Messenger.
Step 3: Ad Settings
Click "Next" to move to the Ad level.
1. Identity:
Select your Facebook Page and Instagram Account.
2. Ad Setup:
Select "Manual Upload."
Format: Single Image or Video (or Carousel).
3. Ad Creative:
Click "Add Media." Upload your video or image. This is where 70% of your performance comes from. Your creative testing strategy will determine your success more than any button click.
Primary Text: This is the caption. In 2026, the algorithm reads this to understand your audience. Use relevant keywords ("Best Running Shoes"). Test one short version (1-2 sentences) and one long version (storytelling).
Headline: This appears next to the button. Keep it under 40 characters or it gets cut off. Good examples: "50% Off Ends Tonight" or "Rated 5-Stars by 10,000+ People."
Call to Action: "Shop Now" (for e-com) or "Learn More" (for high ticket/leads). Avoid "Sign Up" as it feels like work.
4. Destination:
Website URL: Paste the link to your specific product page or landing page. Never send paid traffic to a homepage. Homepage visitors bounce. Product page visitors buy.
URL Parameters: Click "Build a URL Parameter" to add UTM tags. This is crucial if you use Google Analytics or Shopify to track sales. Example: utm_source=facebook&utm_medium=cpc&utm_campaign={{campaign.name}}.
5. Tracking:
Ensure "Website Events" is checked and your Pixel is green. If you have "Offline Events" (e.g., in-store sales), check that too.
.jpg)
The Importance of Naming Conventions (Data Hygiene)
It sounds boring, but naming your ads correctly saves your life later. When you have 50 campaigns running, you need to know what's happening at a glance. Do not use the default "New Ad Set" name.
Campaign Name: [Funnel Step] - [Product] - [Goal]
Example: TOF - Shoes - Sales
Ad Set Name: [Audience] - [Placement] - [Date]
Example: Broad - Auto - Jan 01
Ad Name: [Format] - [Hook Concept] - [Visual ID]
Example: Vid - Unboxing - V1
By doing this, you can filter your reporting. You can type "Unboxing" into the search bar and see the average ROAS of all your unboxing videos across every campaign. That is how you find high-level insights.
Launching and "The Learning Phase"
Once you hit Publish, the campaign goes into "Review" (usually 1 hour). Once active, it enters "Learning Phase."
What is the Learning Phase?
It is the period where the algorithm is experimenting. It tries different pockets of people to see who converts.
How to Exit It:
You need ~50 conversions within a 7-day window. Once you hit this, the status changes to "Active." Performance stabilizes, and CPA usually drops.
The Golden Rule: Do NOT edit your ad set during the Learning Phase. If you change the budget, targeting, or creative, the learning resets to zero. Patience pays.
Conclusion
You have now set up a professional-grade campaign.
It feels like a lot of steps, but once you do it 3-4 times, it becomes muscle memory.
The most important part isn't the button clicking—it's the strategy behind it. Choosing "Sales" over "Traffic." Choosing "Broad" over "Niche Interests."
Trust the process. Hit Publish.
Want to launch campaigns 10x faster? Crush allows you to launch full CBO structures from templates in one click.
Frequently Asked Questions
Common questions about this topic
1What campaign objective should I use for e-commerce?
2Should I use CBO or ABO for Facebook Ads in 2026?
3What is the Learning Phase in Facebook Ads?
4Why should I use Broad Targeting instead of interests?
Written by

Rokas Steponavičius
Founder, CEORokas is the Founder and CEO of TryCrush.ai, an ex-IBM professional turned entrepreneur focused on building AI-driven growth platforms. With a strong background in ecommerce, performance marketing, media buying, and artificial intelligence, Rokas specializes in creating scalable, data-led systems that drive measurable revenue. His mission is to help modern businesses leverage AI to optimize acquisition, conversions, and long-term profitability.
Stop Guessing.
Start Crushing.
AI Ad Manager trained by world-class media buyers to generate your creatives and optimize your ads 24/7.
Learn more
Continue Reading

What is Media Buying in 2026? The AI Revolution
The digital revolution changed advertising forever, but AI is completely rewriting the rules. Learn what media buying is today, why manual bidding is dead, and how modern marketers use creative strategy and AI algorithms to scale profitably.
What is Conversion Rate? How to Optimize It With AI
Understanding your conversion rate is the key to multiplying your business revenue without increasing ad spend. Move past slow, manual A/B testing and discover how AI-driven hyper-personalization is revolutionizing conversion rate optimization.

What is CAC? How AI Can Cut Your Acquisition Costs in Half
Customer Acquisition Cost (CAC) is the ultimate metric for business survival. Learn the true CAC meaning, the golden LTV:CAC ratio, and how AI-driven creative testing can systematically cut your acquisition costs in half.